

MMOexp ARC Raiders: Interacting with the Console
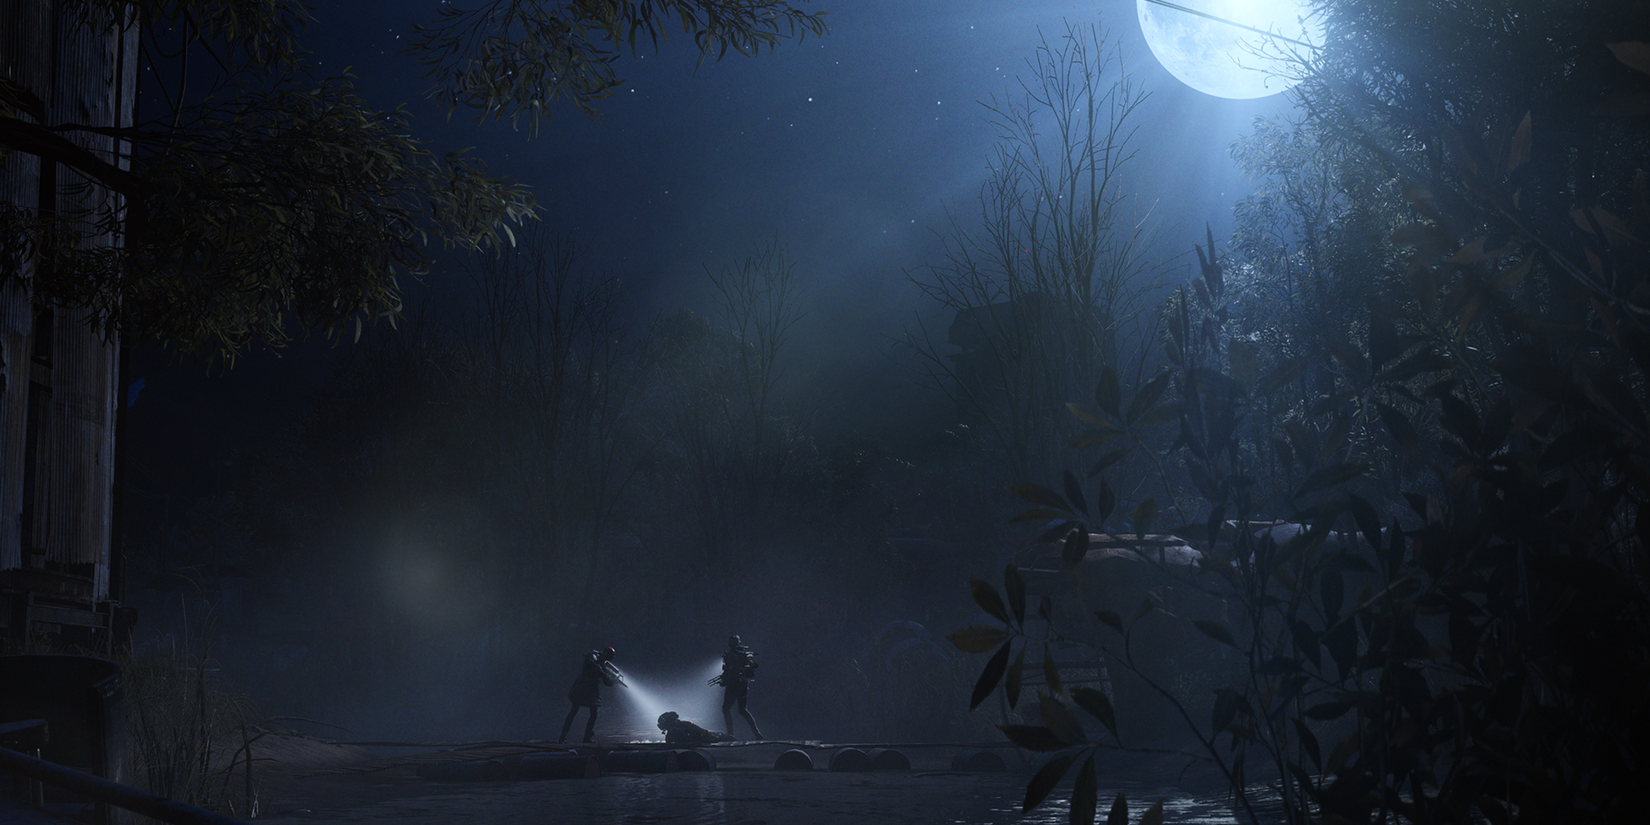
The zipline ride to the top of Control Tower A6 is easily the most dangerous part of ARC Raiders Coins the quest. While ascending, you are completely defenseless. If another player or enemy is already waiting in the control room, they have several seconds to line up shots while you can't fight back or dodge.
This makes timing and awareness critical. If you suspect someone is already above you, it may be better to disengage and return later in the same run rather than gamble everything on a blind ascent. Once you die, the quest attempt is over.
Interacting with the Console
If you survive the zipline and enter the control room safely, the hard part is mostly done. Inside the room, look toward the western side, beneath an open window. There you'll find the quest console required for Lost in Transmission.
Interact with the keyboard and let the progress bar fill. Thankfully, the interaction is quick, which minimizes your exposure time. Once the animation finishes, the quest is immediately completed-no extra enemies spawn, and no additional steps are required.
At this point, you're officially done with Lost in Transmission. Everything that follows is about survival and extraction.
Extraction Options After Completing the Quest
After completing the console interaction, you have two main extraction choices nearby, depending on availability and risk tolerance.
The Control Hatch extraction point, located just north of Control Tower A6, is the safest option if it's active. It offers good cover and a relatively quick escape, making it ideal if you picked up valuable loot inside the tower.
The South Elevator extraction point is another option, but it's significantly riskier. The area is more open, and waiting for the elevator leaves you exposed to enemies and other players. Choose this only if Control Hatch is unavailable or too heavily contested.
If extraction isn't possible or things go sideways, don't panic. Even if you die after completing the console interaction, the quest still counts as completed.
Tips for Completing Lost in Transmission Safely
Go in light but prepared: You don't need to overgear, but bring reliable weapons and healing ARCR Items.
Listen before ascending: Audio cues can save your run.
Avoid rushing early: Let other players clear out first if possible.
Commit once you go up: Hesitation on the zipline usually ends badly.
Extract immediately after: Don't get greedy unless you're confident.
Final Thoughts
Lost in Transmission is a perfect example of ARC Raiders' risk-versus-reward design. It's a short quest with a simple objective, but its placement in one of the most dangerous locations on Spaceport makes every decision matter. With careful timing, situational awareness, and a clean escape plan, you can finish it quickly and move on-ideally with some high-value loot in your pack.
Play it smart, pick your moment, and don't underestimate how fast things can go wrong at the top of Control Tower A6.
As you progress through Lance's questline in Arc Raiders, you'll eventually be handed a task called Prescriptions of the Past. True to Lance's eccentric nature, this mission sends you scavenging for anything medically useful tucked away in the Medical Exam Room of the Departure Building. That means one thing: a trip to Spaceport, one of the game's most active and contested locations.
While Prescriptions of the Past is fairly straightforward on paper, Spaceport's reputation as a high-traffic loot zone adds an extra layer of risk. You won't technically need to extract to complete the quest, but surviving long enough to safely navigate the area is another story. Before dropping in, it's worth thinking about how you want to approach the mission.
If you're more of a peaceful scavenger who prefers to avoid unnecessary PvP, consider running a free or low-risk loadout. That way, if another Raider decides to test your patience, you won't lose anything valuable ARC Raiders Items. On the other hand, if you're feeling confident-or just itching for a fight-bringing solid weapons and extra ammo can help you defend the area or punish overly aggressive players. Either approach works, as long as you're prepared.
Once you're geared up and ready, here's how to complete Prescriptions of the Past step by step.
Visit the Departure Building in Spaceport
Your destination is the Departure Building, a prominent point of interest located on the western side of Spaceport. This building is widely known among Raiders for its abundance of searchable containers, drawers, and desks, making it a hotspot for loot-focused runs. Because of this, it also tends to attract other players looking to stock up-or looking for trouble.
As you approach the area, move cautiously. Listen for footsteps, gunfire, or opened containers that might indicate another Raider is nearby. Keeping your weapon ready and your escape routes in mind can save you from an early trip back to the shelter.
For the most direct and beginner-friendly route, approach the Departure Building from the north side. This leads you straight to the main entrance, minimizing the need to navigate awkward exterior angles or unexpected enemy sightlines.
Once inside, your quest objective will update, prompting you to locate the Medical Exam Room somewhere within the building.
Find the Medical Exam Room Inside the Departure Building
After entering the Departure Building, orient yourself toward the staircase on the right-hand side of the interior. This staircase leads up to the next floor, where the Medical Exam Room is located.
Climb the stairs and follow them around until you reach the upper level. As soon as you arrive at the top, make an immediate left turn. You should see a nearby door on your left-hand side-this is the Medical Exam Room you're looking for.
Be careful here. The second floor is often quieter than the ground level, but that doesn't mean it's safe. Raiders frequently check upstairs rooms for high-value loot, and it's not uncommon for someone to be lurking just out of sight. Take a moment to listen before opening the door, and be ready to react.
Once you enter the Medical Exam Room, your objective will update again, instructing you to search for the records.
Search for the Records
Inside the Medical Exam Room, you'll find several examination tables and medical props scattered throughout the space. Walk forward past the exam tables until you reach a desk with ARCR Coins for sale papers on it. These documents are the records Lance is interested in.